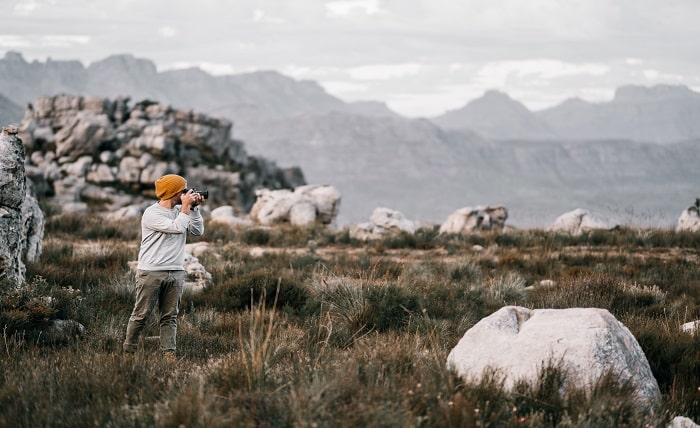
Trail walks and roadside stops leave beginners with the same quiet frustration: a stone looked memorable in the moment, yet the phone gallery later shows only a dull, context-free blob. Color washed out. Scale vanished. Texture that felt obvious under a thumb became a flat JPEG. You do not need a geology degree to close that gap. You need a field habit—light, notes, and a few deliberate photos—so that when you sit down later you still have enough evidence to reason about what you saw.
This guide is for hikers, science-curious students, and weekend explorers who want field stones to become a learning record rather than a blurry camera roll. The aim is education, not collecting. Photograph in place, leave protected sites intact, and treat every name as provisional until a second look agrees.
Why a careful photo beats a rushed snapshot
Rocks teach landscape literacy. A sandstone ledge can explain a dry slope; a dark volcanic flow hints at old lava; limestone often travels with springs and caves. When a few common types start to look distinct, trail signs and roadside cuts suddenly make more sense. Photos are the bridge between the moment and the notebook. Memory edits color and grain; a clear image set does not.
There is also an ethics angle. Unstable cuts, mine dumps, and fragile habitats are better studied from a respectful distance. Good documentation keeps curiosity alive without turning every walk into a pocketful of specimens from land that is not yours to take.
Light first: when and how to shoot
Midday glare flattens texture. Soft morning or late-afternoon light rakes across crystal faces and bedding planes, so cleavage, layering, and grain size show up more clearly. If you only have harsh noon light, cast a soft shadow with your body or a hat brim and shoot again. Avoid the flash unless you are in a shaded overhang; flash often blows out specular highlights on wet or glassy surfaces.
Shoot one overview that shows the rock in its setting—stream bed, road cut, scree slope—then move closer. Take a second frame filling most of the screen with the specimen’s face. Take a third of any distinctive feature: a crystal pocket, a fossil outline, a color band, a weathered rind. If the stone is small enough to hold safely without damaging the site, include a coin, key, or finger for scale in at least one frame. Scale is the detail beginners forget most often, and it is the detail that rescues identification later.
Keep the lens clean. Trail dust and fingerprint smudges turn sharp edges into mush. Brace your elbows against your ribs or rest the phone on a pack to reduce shake. Tap to focus on the texture you care about, not the bright sky behind the outcrop.
Notes that travel with the photo
A photo without context is a riddle. In a notes app or a small field notebook, jot four lines while you are still looking:
- Approximate location (trail name, mile marker, or offline map pin)
- Fresh or weathered appearance, wet or dry
- Feel: heavy for size, gritty, smooth, layered, glassy
- Color of a freshly broken edge if one already exists—never smash protected rock
Add one sentence about the setting: “in a dry wash below a sandstone cliff†tells a future you more than “pretty rock.†If you carry a loupe, mention whether grains are visible without magnification. You are not writing a paper; you are leaving breadcrumbs for yourself.
What to look for before you leave the spot
Beginners often chase color alone. Color helps, but structure lasts longer in memory and photographs. Ask yourself:
Is the rock made of visible interlocking crystals, or of glued-together grains like sandpaper? Does it split into sheets, or fracture in curved, glassy shells? Are there fossils, vesicles (tiny frozen gas holes), or clear layering? Does a magnet in your pack tug at all? Is the surface dull, waxy, or metallic?
You will not answer every question on every stone. Answering two or three already narrows the field. Sedimentary rocks often show beds and rounded grains. Igneous rocks may look massive or speckled with crystals of different sizes. Metamorphic rocks can show stretched fabrics or shiny mica that catches light when you tilt the piece. These are starting categories, not final labels.
Turning photos into a name without guessing wildly
At home, open the best frames on a larger screen. Crop away empty sky. Compare wet versus dry shots if you have both. Re-read your notes before you open any reference. Then work from categories toward candidates: grainy and layered versus crystalline and massive, light versus dark, magnetic or not. Field guides, museum pages, and classroom charts all help—use more than one source when a name feels important.
When you want a fast first pass from a clear phone photo, you can name a trail rock from your phone photo and treat the suggestion as a hypothesis to check against your notes and a second reference. That workflow keeps the phone useful without replacing careful looking. If two sources disagree, keep both names in your notebook with a question mark. Uncertainty is normal; rushing to certainty is how beginners lock in the wrong label.
Common beginner traps
Blurry close-ups hide the very texture you need. One distant hero shot without a scale object leaves you guessing size forever. Shooting only the pretty weathered face can hide a different interior color. Pocketing samples from parks, monuments, or posted private land creates legal and ethical problems that no identification tool can fix. Photographing first and collecting only where rules clearly allow it keeps the hobby sustainable.
Another trap is naming from a single look-alike thumbnail on the internet. Many common rocks share colors. Pair images with hardness clues, grain size, and setting. A green stone in a copper district is not automatically the same mineral as a green stone in a beach cobble pile.
A short field checklist you can reuse
Before you walk away from an interesting rock, run through this list once:
- Overview photo in place
- Close face photo in soft light
- Detail photo of the most unusual feature
- Scale object in at least one frame
- Four-line note: place, wet/dry, feel, setting
- Leave the site as you found it
That sequence takes two or three minutes. It turns a fleeting “huh, neat stone†into something you can study after dinner, share with a class, or compare on the next trip.
Building a habit across seasons
Identification skills grow with repetition, not with one perfect outing. Keep a simple album or folder per trail or month. Revisit old photos after you learn a new texture word—porphyritic, clastic, foliated—and you will notice features you skipped the first time. Bring the same note template every hike so your records stay comparable. If you teach or study outdoors, the habit also models scientific care: observe, document, hypothesize, revise.
Respect for place belongs in the habit too. Stay on durable surfaces when you pause. Do not pry rocks from walls that hold a trail together. Share locations carefully if a site is fragile or overcrowded. The best field stories leave the hillside looking the same when you go.
Closing thought
Beginners do not fail at rock identification because they lack talent. They fail because the evidence evaporates between the trail and the kitchen table. Deliberate light, a short note, and a few sharp frames keep the evidence alive. Names can wait until the photos are good. Curiosity does not need a lab coat—only patience, respect for the land, and a phone used as a tool rather than a slot machine for instant answers.